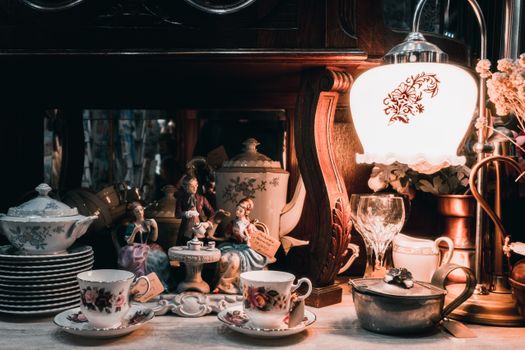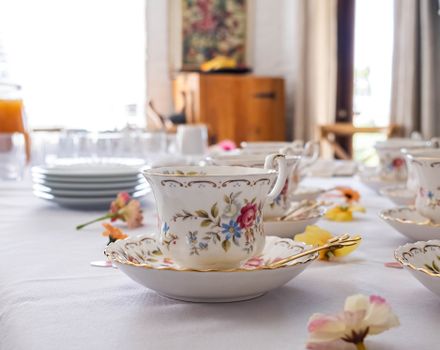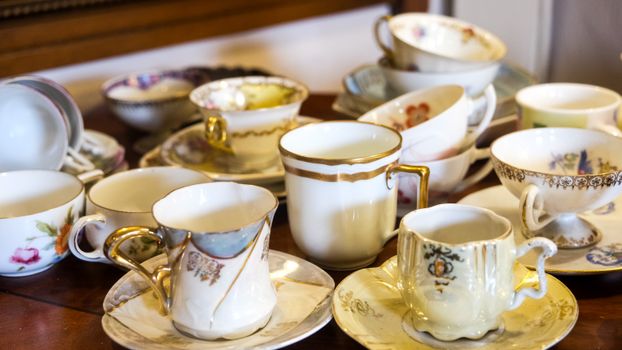
Vintage tea cups are more than just functional dishware—they are tangible links to the past, brimming with stories, memories, and intricate artistry. However, time can take its toll, leaving these delicate treasures chipped, crazed, or faded. For collectors and sentimentalists alike, the urge to restore and preserve such pieces is strong. But how do you bring a damaged vintage tea cup back to its former glory without compromising its value or charm? This guide explores practical, safe, and creative methods to renovate damaged vintage tea cups, whether you’re aiming for full restoration or a tasteful revival that celebrates their storied past.
Understanding Damage: Types of Wear in Vintage Tea Cups
Before you embark on a renovation project, it’s crucial to identify the specific types of damage your vintage tea cup has sustained. The restoration approach will differ depending on the nature and extent of wear. Here are the most common types:
1. Chips and Cracks: These are the most visible and can compromise both aesthetics and structural integrity. According to a 2022 survey by the Antique Collectors Club, nearly 65% of vintage porcelain found in households exhibits minor chipping. 2. Crazing: This refers to fine, web-like cracks in the glaze, often caused by age or temperature fluctuations. It typically affects cups made before the 1950s. 3. Stains and Discoloration: Tea and coffee can leave stubborn stains, especially in crazed or unglazed areas. 4. Faded Gilding and Patterns: Over time, the gold accents and painted designs may wear away due to frequent use or improper cleaning. 5. Handle Damage: Handles are particularly prone to breakage and require delicate repair.Understanding the damage helps you choose between restoration options—ranging from simple cleaning to advanced repairs.
Initial Steps: Cleaning and Preparing Your Tea Cup
Every successful restoration begins with gentle and thorough cleaning. Many collectors make the mistake of using harsh chemicals or abrasive pads, which can exacerbate damage and diminish value. Here’s how to clean your vintage tea cup safely:
1. Use lukewarm water mixed with a mild, pH-neutral soap. 2. Employ a soft-bristled brush (like a baby toothbrush) to remove dirt from crevices. 3. Avoid submerging the cup for extended periods, especially if crazing is present, as water can seep in and worsen stains. 4. For stubborn stains, create a paste with baking soda and water, gently applying it to affected areas. Alternatively, hydrogen peroxide (3%) can be used for deep-set stains. Let it sit for a few hours, then rinse thoroughly.Always dry with a soft, lint-free cloth. For precious pieces, use cotton gloves to avoid transferring oils from your fingers.
Repairing Chips, Cracks, and Broken Handles
When it comes to repairing structural damage, precision and patience are essential. Not every repair is suitable for food use, so consider whether your tea cup is for display or practical use.
1. Chips: For small chips on the rim or base, use a two-part clear epoxy resin. Apply sparingly with a toothpick, shaping the repair to match the original contour. Once set, sand gently with ultra-fine sandpaper (at least 1000 grit). 2. Cracks: Hairline cracks can be stabilized with clear cyanoacrylate adhesive (super glue). For antique pieces, consider professional restoration to avoid further damage. 3. Broken Handles: Reattaching a handle requires careful alignment. Use a high-quality porcelain adhesive, apply to both broken surfaces, and hold in place with painter’s tape until cured (usually 24 hours). For invisible repairs, some restorers use color-matched filler and touch-up paints.Note: Restored cups should not be used for hot liquids unless food-safe adhesives and techniques are applied. Display-only pieces allow for more flexibility in repair methods.
Restoring Gilding, Patterns, and Glaze
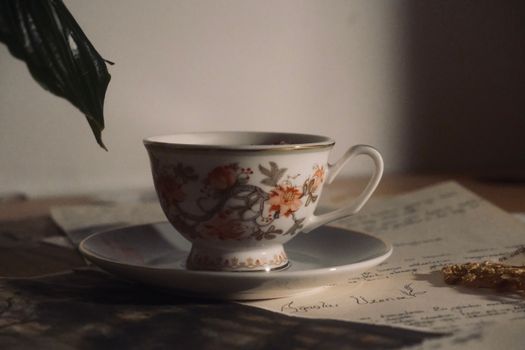
The true charm of vintage tea cups often lies in their delicate decorations and gilded accents. Over time, these features can fade or flake, but skilled restoration can revive their vibrancy.
1. Gilding: Specialized gold or platinum overglaze paints are available for touch-ups. Use a fine artists’ brush and apply in thin layers. Many products require kiln firing for durability, but air-dry alternatives exist for non-food-use repairs. 2. Pattern Touch-Ups: Porcelain and ceramic paints, available in a variety of colors, can be used to fill in worn floral designs or lines. Before applying paint, practice on a similar surface to match the original pattern and hue. 3. Glaze Restoration: For dull or worn glaze, professional re-glazing is the gold standard, but this requires access to a kiln. For display pieces, clear epoxy resins or specialized overglaze sealers can provide a temporary shine.Here is a comparison of common restoration materials:
| Material | Best For | Food-Safe? | Requires Firing? | Durability |
|---|---|---|---|---|
| Two-part Epoxy Resin | Chips, cracks | No | No | High (for display) |
| Porcelain Adhesive | Handles, large breaks | Some types | No | Medium to high |
| Gold Overglaze Paint | Gilding | No | Yes (for best results) | High |
| Porcelain Paint | Patterns, designs | Some types | Optional | Medium |
| Hydrogen Peroxide | Stain removal | Yes | No | High |
Creative Approaches: Embracing Imperfections with Kintsugi and Artful Repairs
Not all collectors seek a flawless finish. The Japanese art of kintsugi transforms visible repairs into a celebration of a cup’s history. This technique uses lacquer mixed with powdered gold, silver, or platinum to highlight cracks and breaks, turning damage into unique beauty.
Kintsugi has gained popularity among vintage tea cup enthusiasts for several reasons:
- Emotional Value: The visible repair tells a story, adding character and history. - Sustainability: Rather than discarding broken items, kintsugi encourages thoughtful reuse. - Artistic Flair: Each repair is unique, often making a cup more visually striking than before.You can purchase kintsugi repair kits online, which include all materials needed for a basic repair. While traditional kintsugi uses urushi lacquer (which requires skill and patience), modern kits use quicker-setting epoxies and metallic powders for similar visual effects.
Other creative methods include:
- Decoupage: Use decorative paper or fabric to cover damaged areas, sealing with a clear, food-safe varnish. - Mosaic: Combine shards from multiple damaged cups to create a new, functional art piece.Preservation Tips: Keeping Your Restored Tea Cups Beautiful
After renovation, it’s important to preserve your tea cups to prevent future damage. Here are key tips:
1. Display: Use padded stands or plate hangers lined with felt to avoid scratches. Avoid direct sunlight to prevent fading of patterns and gilding. 2. Cleaning: Wash by hand using mild soap and lukewarm water. Avoid dishwashers, which can cause thermal shock and wear away delicate decorations. 3. Storage: Place cups in a cabinet with stable temperature and humidity. Store handles facing inward to minimize the risk of breakage. 4. Handling: Always pick up tea cups by both the body and the handle for extra support.According to the International Ceramic Restoration Association, well-preserved and restored vintage cups can retain up to 80% of their collectible value, compared to less than 40% for unrestored, heavily damaged pieces.
Final Thoughts on Renovating Damaged Vintage Tea Cups
Restoring a vintage tea cup is a rewarding blend of craftsmanship, artistry, and historical preservation. Whether you’re repairing a family heirloom or reviving a flea market find, the process connects you to generations of tea lovers and artisans. With patience, the right materials, and a respect for the cup’s story, you can bring new life—and enduring beauty—to even the most timeworn treasures. Remember, each restored cup remains a testament to resilience, creativity, and the timeless joy of tea.